Outlook help & learning
Try the new Outlook!
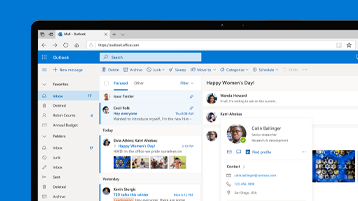
Outlook for Windows helps you connect and coordinate your world. You can write better emails, get and stay organized, and have quick access to popular Microsoft apps. Try new Outlook on Windows devices now.
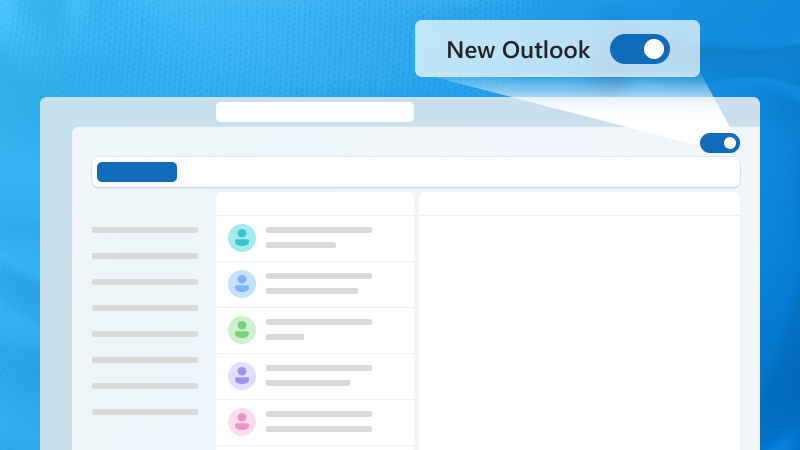
Explore Outlook
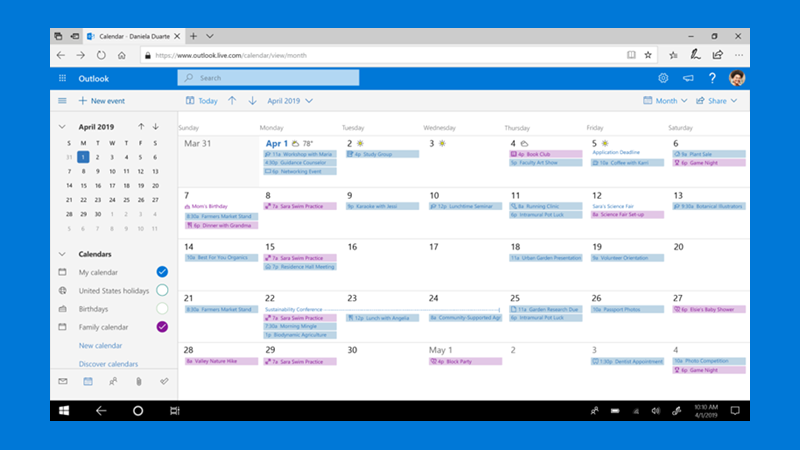
Your day, your way
See work, group, and personal calendars with ease, wherever you want to be.
Learn with Outlook
Check out our featured training course and organize your inbox with flags.
Are you a small business?
Visit the small business help & learning page to learn how you can use Outlook and other Microsoft 365 apps and services in your small business.
Connect. Organize. Get things done.
Everything you need to be your most productive and connected self—at home, on the go, and everywhere in between.
Trending topics
Email and Calendar
Make the most of your 365
A collection of powerful productivity apps you can use anywhere. Organize your life, expand your creativity, and protect what’s important.